 |
| An Archeotech Prospecting Expedition sponsored by the local Tech Guild inadvertently strays into the territory of Boss Sass and the Saggy Bottom Boys and conflict ensues. |
For a while now I've been experimenting with basing different things on old CDs and using the foil casings for things like buns, tarts and pies to make craters of varying sizes, and as I think it's been fairly successful in making small pieces of terrain, I thought I'd share a short tutorial for anyone that's interesting in having a go for themselves.
 |
| The humble tart case |
The first thing that you're obviously going to need is an empty casing, so either eat the contents yourself, or else give them to someone else (this is where it helps to have a mate that's always stuffing his face) and have them eat it for you, wash the foil and there you have your basic material.
 |
| The humble tart case unfurled |
Unroll the edges of the case, then you have a choice of either cutting this bit off or retaining it based on the amount of material you think you'll need to stick it to your base of choice and how you're going to blend it in once it's attached.
 |
| The humble tart case scrunched up |
The next stage is to pinch the case and draw it into a shape that resembles a crater, and this is best done by pressing the centre down to form the floor of the crater's interior while pulling the rest inwards to form the sloping outer wall.
 |
| The CD base - probably not formerly a Drum and Bass album... |
Now it's time to stick it to the base, which in my case is an old CD - cover the hole on the underside with masking tape and then superglue the crater to the other side. (If this one looks different to the previous examples, don't worry, it's just because, like a prat, I stuck this one to the base before I realised I wanted to do a tutorial, and so had to start a new one from scratch.)
 |
| Gritty realism from gritty terrain paint |
I then blended the sides of the crater into the base using my usual recipe for terrain paint (filler, budgie grit, budgie sand and slate grey emulsion paint - all of which came from pound shops), save for the interior of the crater.
 |
| Who's a pretty boy then? |
Using PVA, I lined the interior of the crater with budgie sand in order to differentiate it from the exterior.
 |
| Shade #199 - Conservative Prime Minister |
Priming the whole thing with a cheap rattle can ties the different elements together and lets you see where the shape of it's going.
 |
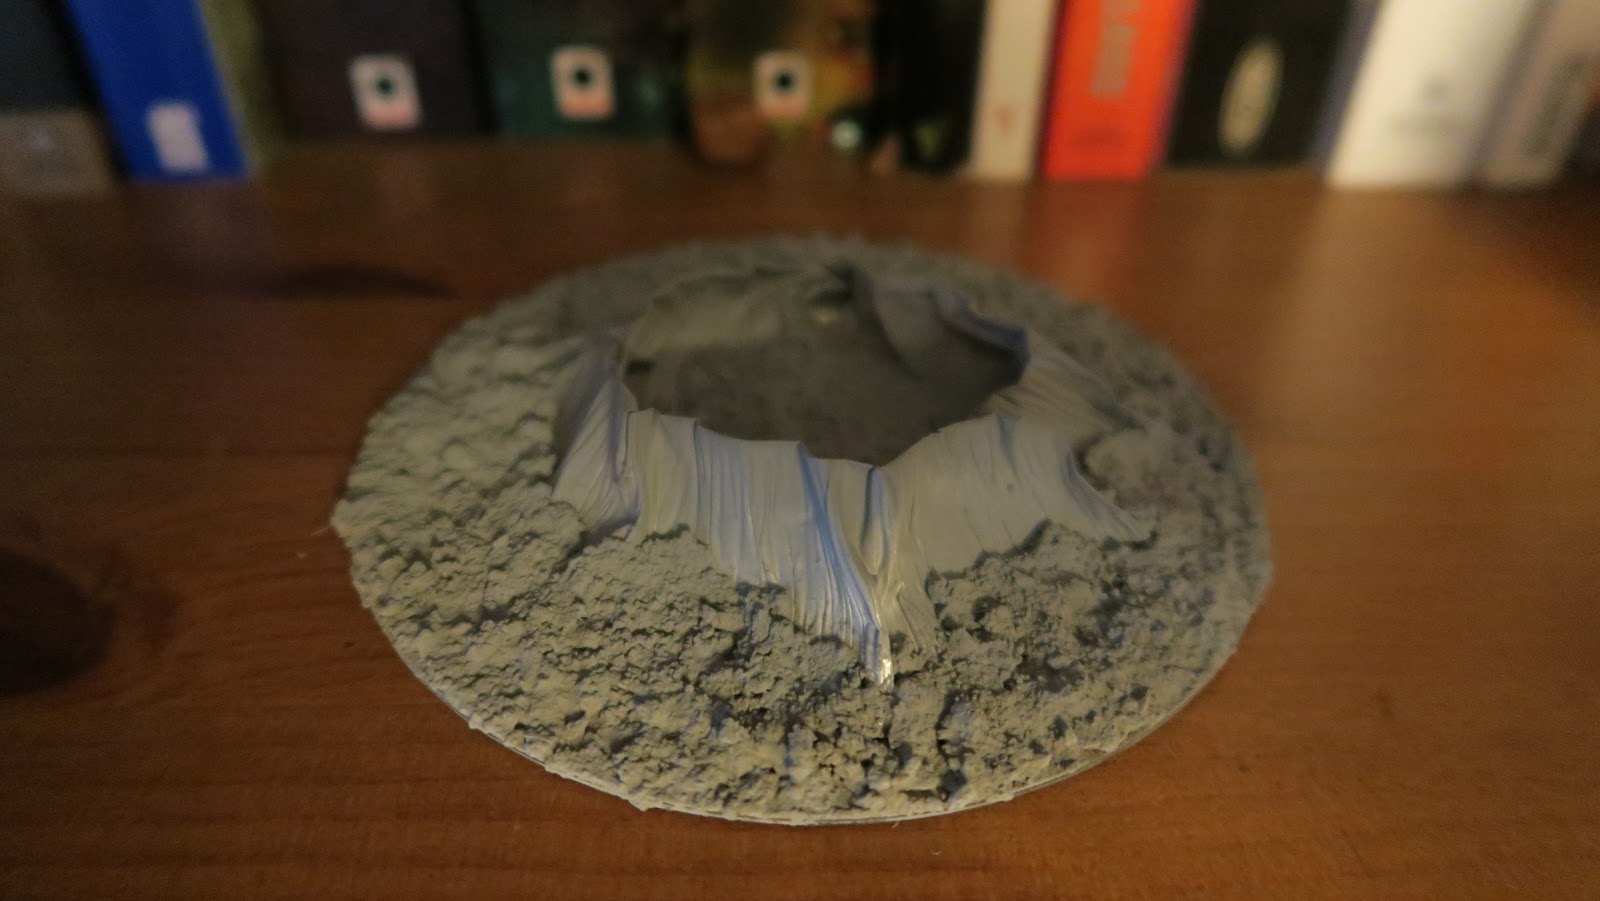
| 50 Shades of Grey...well, three at least. |
Finally I gave the entire thing a coat of slate grey emulsion and then took it up through two successively lighter shades of grey paint until I was happy with the contrast, particularly the way in which the ribbed sides of the casing add to the texture of the sloping outer edge of the crater.
I think these are pretty easy and impressively detailed for the ease with which they can be made, and in addition, they can be added to a cratered base for a larger piece of terrain just as easily. Also the chance to grab cases of differing sizes and use them together makes for a varied and interesting mix of craters, as can be seen in the image at the top of this post.
So what do you think?
Good, bad, trash?
As always, let me know what you think in the comments below or on FB.
Next up, I hope to be doing something similar around the concrete walls that you can see in the background of that little gang clash mentioned above.


I like it - my type of terrain as well. Cheap, quick to do and functional to a T. Consider your instruction stolen good sir!
ReplyDeleteThanks for taking the time to stop by and leave a comment, also thanks for taking up the info shared here. When you make your own craters using this method, please feel free to post me a link if you share them online, as I'd love to see what people are doing with the idea.
ReplyDelete